¶ Administrator
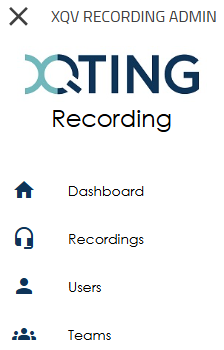
When you are logged into innovaphone as an XQv Recording administrator (see previous chapter) and click on the XQv Recording app icon, the administrator UI opens with the following main menu:
¶ Dashboard
The dashboard is the home page in the Administrator app. It shows a couple of key values:
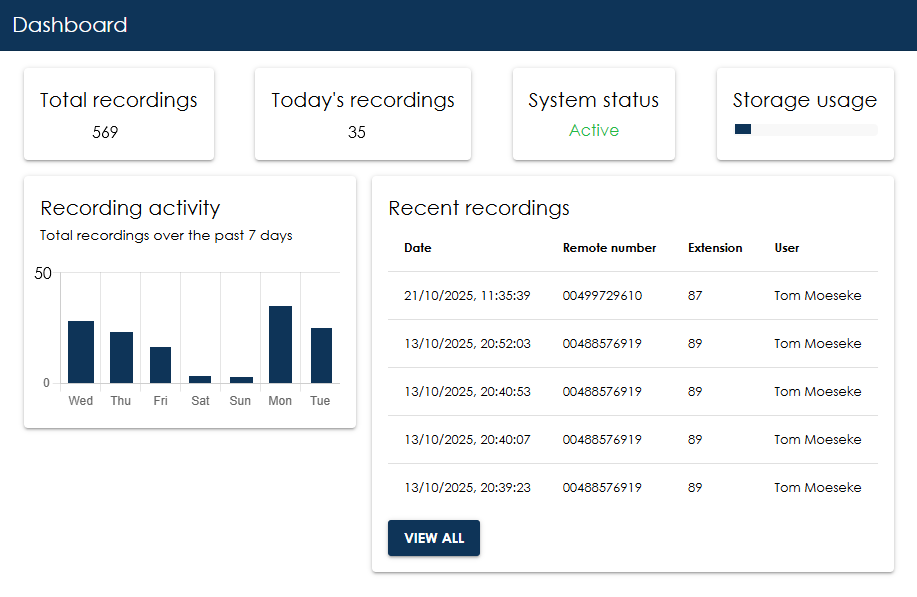
- Total recordings: number of recordings that are available in the system
- Today's recordings: number of calls that were recorded for the current day
- System status: active or not
- Storage usage: a status bar of the storage being used at this very moment
- Recording activity: a small graph giving an idea on the recordings for the past 7 days
- Recent recordings: the list with the 5 most recent recordings. The “View all” button leads to the second entry in the main menu: “recordings” (refer below).
¶ Recordings
This page displays the most recent recordings by default, but also allows you to search for specific recordings. This is done by using filters.
¶ Filters
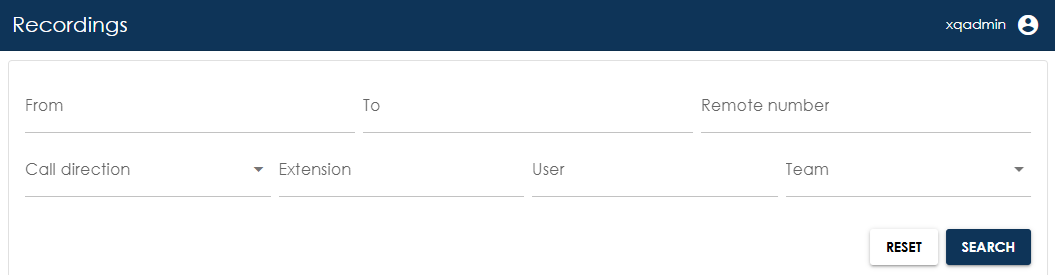
From: date/time from when you want to filter
To: date/time until when you want to filter
Remote number: telephone number of the calling or called party. You don't need to enter the full number. When entering e.g. “456”, the search will give
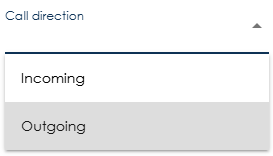
Call direction: select a direction from the drop-down (incoming or outgoing)
Extension: PBX extension of the user
User: PBX name of the user
Team: select a team from the dropdown list (the concept of teams is explained below)
When using from/to, a date/time selector pops up:
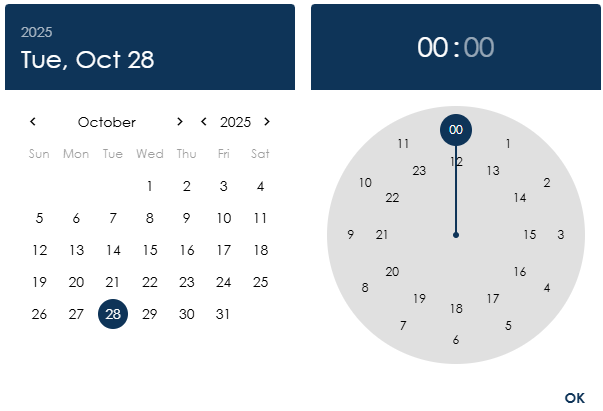
Select a date, set the time and press “OK”
To apply the filters, press the “Search” button. The results shown meet all filters (it is therefore an AND filter, not an OR filter).
The “Reset” button clears all filters that were previously set.
¶ Results
The recordings that meet the search criteria are displayed in a list:

Columns are:
- Date: date/time of the start of the call
- Direction: incoming or outgoing
- Remote number: telephone number of the calling or called party
- Duration: length of the recording in “hh:mm:ss” format
- Extension: pbx phone extension
- Team: team the user belongs to
- User: pbx name of the user
The list can be sorted by clicking on the column headers. A downward arrow will appear. Clicking on it again will reverse the sorting; an upward arrow will appear.
In addition, two buttons appear for each recording:

The first option allows you to listen to the recording.
The second option allows you to download save the recording locally.
If your organisation has chosen to convert conversations to text using AI, two additional icons will appear:

If you click on the third option, the transcript will appear in a pop-up window. This provides a clear overview of the communication between the two parties.
By clicking on the fourth icon, you can download the transcript as a text file.
¶ Users
On this page, XQv Recording displays all users of the system. These include agents/users, supervisors and administrators. Who is granted which rights is determined entirely by the innovaphone PBX administrator. He assigns the apps and licences to users via the innovaphone UI. Consequently, this list is for reference only; it is not possible to select, edit or delete anything. However, the list can be sorted using the column headers.

¶ Teams
The Teams section shows the list of teams that are defined in the XQv Recording app.
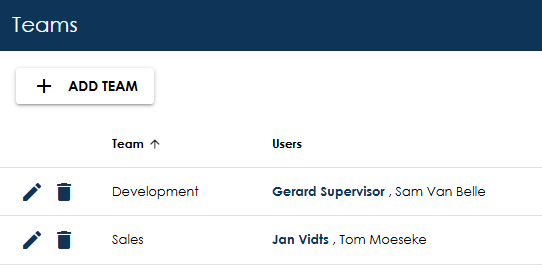
It shows 2 colums:
- Team: name of the team
- Users: the users that were assigned to the team. A name displayed in bold indicates that this user has a supervisor licence.
And 2 actions:
- Pencil: click the pencil icon to edit the team
- Dustbin: click the dustbin icon to remove the team (this does not delete the users)
To add a team, press the “ADD TEAM” button on top. The following window appears:
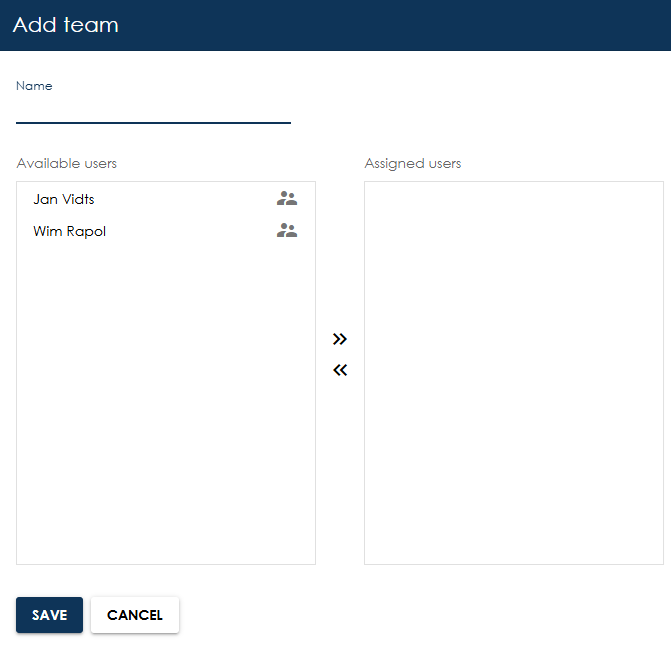
Name: enter a name for the new team
Available/Assigned users: this is a so-called transfer list. Move a user from one column to the other by clicking on his name. To move all users in one time, use the double arrows in between the 2 windows. When an icon with two figures appears next to the name, this indicates that the user has a supervisor licence. Multiple supervisors may be assigned to a team.
Press the “SAVE” button to create your new team.